Vertical storage for compact rooms
In a small room, the floor is the scarcest surface and the walls are the most underused. Vertical storage moves belongings off the floor and onto wall-mounted shelving, over-door racks and full-height units, freeing the circulation space that makes a compact room feel usable. This article covers the measurable details that decide whether a vertical solution works: shelf depth, mounting method, weight rating, and clearance.
Read the wall before you read the catalogue
What you can safely mount depends on the wall behind the drywall. Canadian housing stock varies widely, and the anchoring approach changes with it.
- Wood-stud drywall — common in mid-century and newer homes. Studs are typically spaced 16 inches on centre; fastening into the stud carries far more load than a drywall anchor alone.
- Concrete and masonry — common in condo demising walls and older buildings. These need masonry anchors and a hammer drill rather than wood screws.
- Lath-and-plaster — found in pre-war homes. The brittle plaster surface calls for locating the wood lath or studs and drilling carefully to avoid cracking.
A stud finder and, for masonry, a hammer drill are the two tools that most often decide whether a vertical install is straightforward. Always check the manufacturer's stated weight rating against the anchor type you actually used — a shelf bracket rated for studs is not rated the same way in drywall alone.
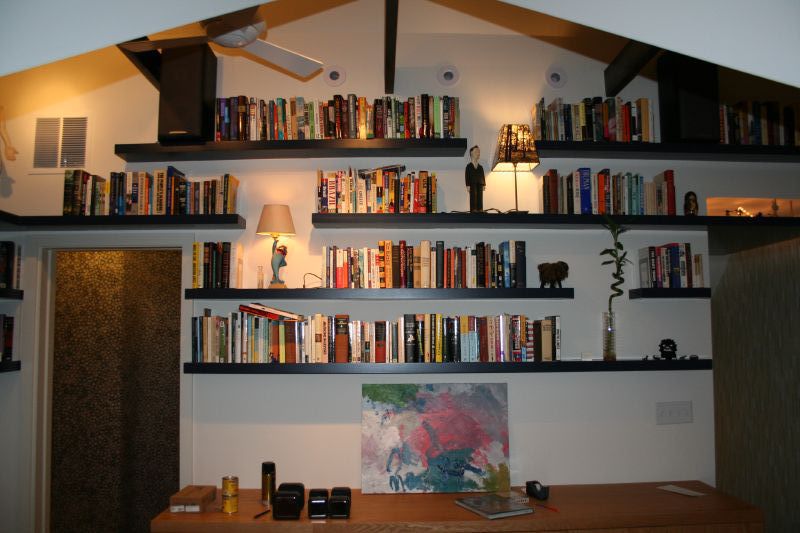
Method one: floating and bracket shelving
Open shelving is the simplest way to build upward. Mounting shelves from roughly the top of furniture height up to within reaching distance of the ceiling captures a band of wall that otherwise stays empty.
Shallower shelves higher up reduce how far items project into the room and keep the wall from feeling top-heavy. Group similar depths so the wall reads as an intentional system rather than a patchwork.
Method two: over-door and door-back storage
The plane of a door is a ready-made vertical surface. Over-the-door racks and hooks hold shoes, cleaning supplies, or pantry items, and they require no wall fastening — useful in rented condos and basement suites where drilling is restricted. Confirm the door has clearance to swing fully with the rack loaded.
Method three: full-height units
A tall, narrow cabinet or bookcase uses a small floor footprint while reaching toward the ceiling, trading horizontal spread for height. In a small room this is usually a better trade than a wide low unit.

Tall units must be secured to the wall. Tip-over of unanchored furniture is a recognized safety hazard, and anti-tip restraints are inexpensive relative to the risk.
Putting a wall together, step by step
- MeasureMeasure the wall and the items. Note ceiling height, obstructions like radiators or outlets, and the depth your stored items actually need.
- LocateFind the structure. Mark studs or, on masonry, plan anchor points. This determines bracket spacing.
- MountInstall from the bottom band up. Keep heavier items low and lighter items high for stability and access.
- SecureAnchor anything tall. Add anti-tip restraints to full-height units before loading them.
Further reading
For wall and fastener guidance specific to Canadian construction, consult publicly available housing resources such as the Canada Mortgage and Housing Corporation. For child-safety guidance on furniture tip-over, see Health Canada.